The smell of fresh paint and the sight of brand new cabinets bring a sense of accomplishment that few things can match. However, once the contractors pack up their tools, you are often left with a fine, chalky film covering every square inch of your home. Effective dust removal after renovation is the final hurdle between a construction zone and a livable sanctuary. This microscopic debris is not just regular household dirt. It is a mix of drywall particles, sawdust, and silica that settles into the smallest crevices. If you do not handle it with a systematic approach, you will find yourself wiping down the same coffee table for weeks as the particles continue to settle from the air. High-quality cleaning in Roseville, CA, standards require patience and the right equipment to ensure your indoor air quality returns to a healthy level.
The Science of Post Construction Debris
Construction dust behaves differently from the lint and pet dander we usually deal with. Because these particles are so small and jagged, they stay airborne much longer and cling to surfaces through static electricity. If you simply grab a feather duster and start waving it around, you are actually making the problem worse by redistributing the mess into the ventilation system. Specialized cleanup strategies focus on capturing the particles rather than moving them. This involves understanding how gravity works in a stagnant room. You have to give the air time to settle so that the heaviest debris lands on the floor, making it easier to trap with microfiber tools.
Setting the Stage for Deep Cleaning
Before you start scrubbing your hardwood or polishing your marble, you need to clear the air. A common mistake is starting the deep clean while the dust is still swirling. Professionals often suggest waiting at least 24 hours after the heavy work concludes. During this time, you should check your HVAC filters. Construction grit can clog a standard filter in a matter of hours, forcing your furnace to work harder and potentially blowing debris back into the clean rooms. Replacing these filters is a crucial step in the renovation cleanup process. If the renovation was extensive, consider sealing off the affected rooms with plastic sheeting to prevent the migration of particles to the rest of the house.
Essential Tools for Successful Dust Elimination
You cannot win this battle with a broom and a prayer. You need a vacuum equipped with a HEPA filter. These filters are designed to trap 99.97% of particles that are 0.3 microns in diameter, which is exactly the size of drywall dust. Standard shop vacs often have filters that are too porous, meaning they suck up the dust and blow it right out the exhaust. Along with a good vacuum, stock up on microfiber cloths. Unlike cotton rags that just push dirt around, microfiber has a tiny hook-like structure that grabs and holds onto fine silt. A long-handled duster with a pivoting head will also be your best friend for reaching those high corners and ceiling fan blades where the hidden mess loves to congregate.
Systematic Cleaning from Top to Bottom
The golden rule of cleaning any space is to start at the highest point and work your way down. Gravity is your assistant here. Start by wiping down the ceiling moldings, the tops of door frames, and the light fixtures. If you start with the floors, you will just end up covering them again when you move to the shelves. Pay close attention to the walls. Many people forget that vertical surfaces hold a surprising amount of grit. A damp microfiber mop used gently on the walls can lift away that dulling film without damaging your new paint. Once the walls and high surfaces are clear, move to the mid-level areas like countertops, inside cabinets, and window sills.
Addressing Furniture and Soft Surfaces
Furniture requires a delicate touch during post remodel tidying. Upholstered pieces act like giant sponges for construction debris. Use the upholstery attachment on your HEPA vacuum to go over every inch of your sofas and chairs, including the undersides and behind the cushions. For wooden furniture, avoid using heavy waxes or polishes immediately. These can trap the grit and create a sandpaper effect that scratches the finish. Instead, use a slightly damp cloth to lift the film, followed by a dry cloth to buff the surface. This ensures the wood can breathe and stays protected from abrasive particles.
Deep Cleaning Different Flooring Types
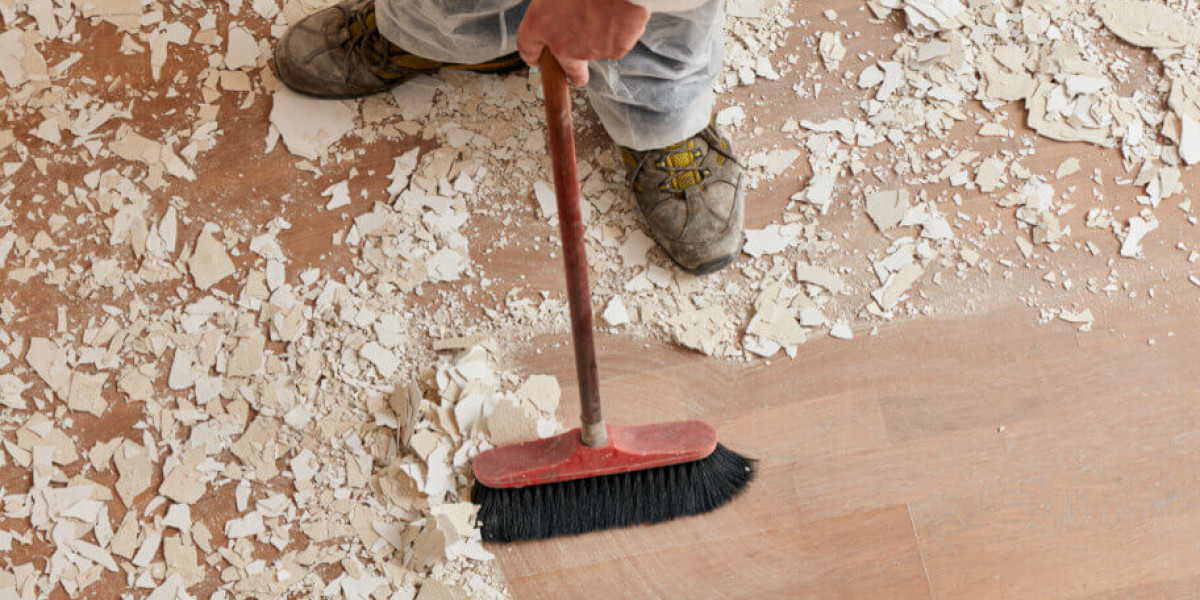
Floors are the final resting place for all that renovation fallout. For carpets, multiple passes with a high-quality vacuum are mandatory. You might even consider a professional steam cleaning to pull the fine powder out of the deep fibers. Hardwood and tile floors need a two step process. First, vacuum or use a dry microfiber dust mop to remove the loose debris. Avoid using a traditional broom as it kicks the silt back into the air. Second, use a damp mop with a pH neutral cleaner. Change your mop water frequently. If the water looks cloudy, you are just spreading mud around. Clean water is the key to achieving that streak free shine on your new flooring.
Hidden Spots Often Overlooked
It is easy to spot the dust on a black granite countertop, but it is the hidden spots that cause long term issues. Light bulbs can get coated in a film that smells like it is burning when you turn the lights on. Inside the hinges of kitchen cabinets, behind the refrigerator coils, and even inside the tracks of your windows are all prime real estate for construction silt. Don't forget the electronics. Computer towers and television vents can suck in drywall dust, leading to overheating. A quick blast of compressed air followed by a vacuum can save your expensive gadgets from a premature death. Taking the time to hit these nooks now prevents a "dusty" smell from lingering in your home for months.
Maintaining a Healthy Home Environment
Once the initial surge of cleaning is done, your job isn't quite over. Particles will continue to settle for several days. It is wise to perform a secondary "touch up" wipe down about three days after the main event. Keeping your humidity levels stable can also help. Air that is too dry increases static, making it harder to remove the film from surfaces. Using a humidifier can help the remaining airborne particles clump together and fall to the ground where they can be easily vacuumed. Regularly checking your air vents for any signs of gray buildup will tell you if your HVAC system needs a professional duct cleaning.
FAQ
How long should I wait to clean after construction ends?
It is best to wait at least 24 to 48 hours. This allows the majority of airborne particles to settle onto flat surfaces, making your efforts much more effective.
Can I use a regular vacuum for drywall dust?
A standard household vacuum usually lacks the filtration needed for fine construction silt. It is highly recommended to use a vacuum with a certified HEPA filter to prevent the dust from being recirculated into your breathing air.
Will a damp cloth ruin my new paint?
If the paint has had a few days to cure, a lightly dampened microfiber cloth should not cause damage. Avoid scrubbing harshly or using abrasive chemicals, as the paint is still reaching its full hardness.
Why does the dust keep coming back every morning?
This is usually because the particles are trapped in the air vents or on high surfaces you might have missed. As the air circulates, it brings the debris back down. A thorough vent cleaning often solves this.
Is construction dust dangerous to breathe?
Yes, it can be. Drywall and concrete dust often contain silica or other irritants that can cause respiratory discomfort. Wearing a mask during the initial stages of cleanup is always a smart move.
Conclusion
Regaining control of your home after a major project is a labor of love. While the process of dust removal after renovation can feel overwhelming, staying organized and using the right tools makes all the difference. By working from the ceiling down to the floor and focusing on capturing rather than moving the debris, you can enjoy your new space much sooner. If the task feels like too much for your busy schedule, or if you want a level of clean that only professionals can provide, reaching out for expert help is a great option. For those in the Seattle area looking for a meticulous touch, meticulositycleaning.com provides specialized services to ensure every corner of your home sparkles. Your renovation was an investment in your home, and a proper deep clean is the best way to protect that investment and ensure your family breathes easy.